Introduction
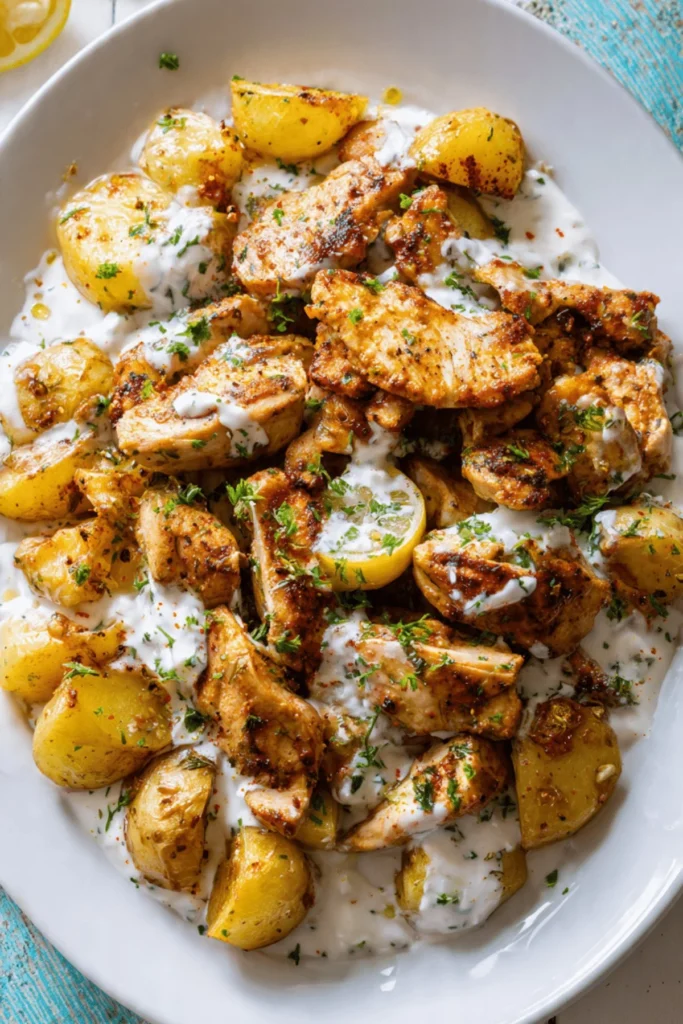
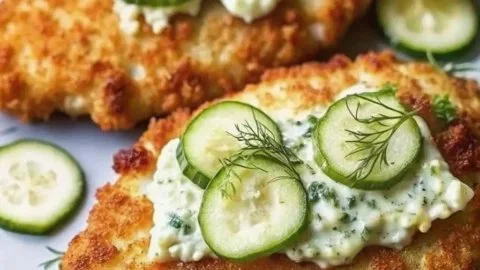
Close your eyes and imagine the first bite: a golden, crackling crust that snaps against your teeth, followed by a tender, juicy chicken breast laced with a bright, tangy whisper of dill pickle. The aroma is irresistible — warm Parmesan, toasty breadcrumbs, and that faint vinegar tang that wakes up the palate. Crispy Dill Pickle Parmesan Chicken is one of those recipes that balances nostalgia and novelty: comforting fried chicken sensations with a playful pickle-brine twist.
This recipe is perfect for casual weeknight dinners when you want comfort without fuss, for backyard gatherings where everyone reaches for seconds, or as a standout sandwich filling for weekend lunches. If you’re the kind of cook who loves crunchy textures and lively, savory flavors, this dish will quickly become a go-to. For step-by-step visual ideas and alternate preparations, check out this detailed guide to crispy dill pickle parmesan chicken variations.
Dish Snapshot
- Prep Time: 15 minutes (plus 30 minutes–2 hours marinating)
- Cook Time: 12–14 minutes
- Total Time: 45 minutes–2 hours, 15 minutes (depending on marinating)
- Servings: 4 (one chicken breast per person)
- Difficulty Level: Easy–Intermediate (basic frying skills recommended)
Nutrition Highlights
Estimated nutrition per serving (1 of 4 servings). Values are approximate and calculated using USDA FoodData Central values for ingredients and typical frying absorption assumptions; sodium guidance referenced from the CDC and Mayo Clinic for context.
- Calories: ~610 kcal
- Protein: ~55 g
- Carbohydrates: ~31 g
- Fat: ~27 g
- Saturated Fat: ~7 g
- Fiber: ~1 g
- Sodium: ~700–1,000 mg
Notes on estimates:
- Protein is driven primarily by the chicken breast (about 40–45 g cooked per piece) plus small contributions from cheese and eggs.
- Calories include approximate oil absorbed during pan-frying (assumed ~1 tablespoon per piece). Oil absorption can vary significantly depending on pan, oil temperature, and frying time.
- Sodium is higher than an unbrined chicken dish because of the dill pickle juice and seasoned breadcrumbs; if you’re watching sodium, reduce salt in the flour mix and use low-sodium pickle juice or rinse the chicken lightly after brining. Nutrition estimates were derived from USDA FoodData Central nutrient profiles and general frying absorption factors; for medical advice and strict dietary needs consult a registered dietitian or resources such as the CDC and Mayo Clinic.
Why You’ll Love It
This recipe hits multiple satisfying notes at once:
- Flavor: The dill pickle brine subtly seasons the chicken through and through, adding bright acidity that contrasts beautifully with the savory Parmesan and toasty breadcrumbs.
- Texture: A satisfying crunch from the crumb-Parmesan coating juxtaposes the tender, juicy chicken inside — every bite is textural fun.
- Social & practical: It’s a crowd-pleaser at game days, potlucks, or family dinners. Marinate ahead for planning convenience and fry just before serving for peak crunch.
- Versatility: Serve it as a main, a sandwich filling, or slice it into strips for appetizers — it adapts to the occasion.
Step-by-Step Instructions
Ingredients
- 4 boneless, skinless chicken breasts
- 1 cup dill pickle juice (from a jar of pickles)
- 1 cup seasoned breadcrumbs
- 1/2 cup grated Parmesan cheese
- 1/2 cup all-purpose flour
- 2 large eggs, whisked
- 1 tsp garlic powder
- 1 tsp onion powder
- 1/2 tsp paprika
- Salt and pepper, to taste
- Cooking oil, for frying (neutral oil with high smoke point, such as vegetable, canola, or peanut)
Optional ingredients and substitutions
- Use panko breadcrumbs for a lighter, airier crunch.
- Substitute gluten-free breadcrumbs and rice flour or a GF all-purpose blend for a gluten-free version.
- Swap Parmesan for Pecorino Romano for a sharper edge, or use nutritional yeast in vegan adaptations (see variations).
- For a lower-sodium option, use low-sodium pickle juice or reduce the marinating time to 30–45 minutes; you can also rinse and pat dry briefly to remove some surface salt.
Preparation & Cooking Directions
- Marinate: Place chicken breasts in a shallow dish or zip-top bag. Pour in the dill pickle juice, ensuring the chicken is submerged. Marinate in the refrigerator for 30 minutes to 2 hours (longer gives more tang; avoid more than 6 hours to prevent texture change).
- Set up dredging station: In three shallow dishes combine:
- Dish 1: All-purpose flour mixed with garlic powder, onion powder, paprika, salt, and pepper.
- Dish 2: Whisked eggs.
- Dish 3: Parmesan cheese mixed with seasoned breadcrumbs.
- Dry and dredge: Remove chicken from brine and pat dry thoroughly with paper towels (this helps the coating stick and prevents splatter). Dredge each breast in the seasoned flour, shaking off excess. Dip in the whisked eggs, then press into the breadcrumb-Parmesan mixture until fully coated.
- Heat oil: Pour oil into a large skillet to a depth of about 1/2 inch. Heat over medium-high until shimmering and a small piece of bread dropped into the oil sizzles (about 350–370°F if using a thermometer).
- Fry: Fry chicken 5–7 minutes per side, depending on thickness, until golden brown and the internal temperature reaches 165°F (74°C). Avoid crowded pan frying — cook in batches if necessary.
- Drain & rest: Transfer cooked chicken to a wire rack set over a baking sheet to drain excess oil. Let rest a few minutes before serving; resting helps juices redistribute.
- Serve hot.
Practical tips
- Pat the chicken dry after brining; excessive moisture will make the coating slide off.
- Use a thermometer to ensure accuracy; 165°F internal temp is the safe doneness for chicken.
- Keep oil at a steady temperature — too cool and the crust absorbs oil; too hot and the exterior burns before the center cooks.
- For an extra-crisp finish, finish in a 400°F oven for 5 minutes on a wire rack after frying.
For an alternate technique with photos and plating ideas, you can consult this alternate preparation guide.
Best Pairings
- Sandwich: Place the chicken on a toasted brioche bun with shredded lettuce, thinly sliced pickles, and a smear of garlic aioli for a crave-worthy sandwich.
- Sides: Pair with crisp coleslaw, sweet potato fries, or a simple lemon-garlic green bean saute for balance.
- Sauces: Serve with ranch dressing, honey mustard, or an herbed yogurt dip to complement the tangy breading.
- Beverage: A crisp lager, a citrusy iced tea, or a bright Sauvignon Blanc cuts through the richness and lifts flavors.
- Snack or appetizer: Slice into strips and serve with dipping sauces for a party platter.
Shelf Life & Storage
- Room temperature: Do not leave fried chicken at room temperature for longer than 2 hours (1 hour if above 90°F) due to food safety.
- Refrigeration: Store cooled chicken in an airtight container in the refrigerator for up to 3–4 days. Re-crisp in a 375°F oven for 8–10 minutes on a wire rack.
- Freezer: You can freeze cooked, cooled chicken breasts individually wrapped in plastic and foil or in airtight containers for up to 2 months. Thaw overnight in the refrigerator before reheating. For best texture, reheat in the oven at 375°F until heated through.
Chef’s Advice
- Brine timing: Short brines (30–60 minutes) give a pleasant tang without over-softening meat; longer brines intensify flavor but may change texture.
- Coating adhesion: For maximum adhesion, use a “dry-wet-dry” dredge: flour → egg → breadcrumb. Press breadcrumbs firmly into the surface.
- Oil choice: Use an oil with a high smoke point; peanut or refined avocado oil are excellent for crisp results.
- Consistent thickness: If breasts are uneven, pound to even thickness for uniform cooking.
- Temperature control: Maintain oil temperature between 350–370°F. Use a probe thermometer to avoid undercooked centers or overcooked exteriors.
Creative Twists
- Oven-Baked Crunch: For less oil, spray the coated chicken with oil spray and bake at 425°F for 18–22 minutes, flipping once, finishing under the broiler for 1–2 minutes for extra browning.
- Spicy Dill Kick: Add 1–2 teaspoons of cayenne or smoked paprika to the breadcrumb mixture and serve with a chipotle mayo.
- Gluten-Free & Air-Fryer: Use gluten-free breadcrumbs and rice flour, then air-fry at 380°F for 10–12 minutes, flipping halfway, for a lighter crunch.
- Vegan Alternative: Use plant-based chicken cutlets, substitute aquafaba (chickpea liquid) or a flax “egg” for binding, use nutritional yeast in place of Parmesan, and bake or air-fry for a vegan-friendly version.
All Your Questions Answered
Q: Can I use jarred pickle brine from flavored pickles?
A: Yes — dill or garlic pickle brines work best. Avoid spicy or sweet brines unless you want those flavors to dominate.
Q: How long can I marinate chicken in pickle juice?
A: 30 minutes to 2 hours is ideal. Up to 6 hours is possible, but longer can begin to alter texture.
Q: How do I keep the coating from falling off?
A: Pat chicken dry, use the dry-wet-dry dredge (flour → egg → crumbs), and press crumbs into the chicken. Avoid flipping too frequently while frying.
Q: Is there a healthier way to make this?
A: Bake or air-fry instead of pan-frying and use panko with a small oil spray. Choose low-sodium pickle juice and reduce added salt.
Q: Can I reuse the frying oil?
A: You can reuse oil once if it hasn’t been overheated or contaminated; strain and store in a cool, dark place. For safety and best flavor, many prefer fresh oil for best results.
Conclusion
Crispy Dill Pickle Parmesan Chicken is a joyful fusion of crunchy comfort and bright, tangy flavor — perfect for family dinners, casual gatherings, or an elevated sandwich. If you want to compare other cooks’ takes and see visual variations, check out this flavorful Dill Pickle Parmesan Chicken Recipe – Recipeothy and this practical home-cook perspective at Dill Pickle Parmesan Chicken – I Am Homesteader. Try the recipe, share your tweaks in the comments, and let the crunch-and-tang combo win your taste buds.
Printable Recipe Card
Want just the essential recipe details without scrolling through the article? Get our printable recipe card with just the ingredients and instructions.