Talk Frozen Princesses
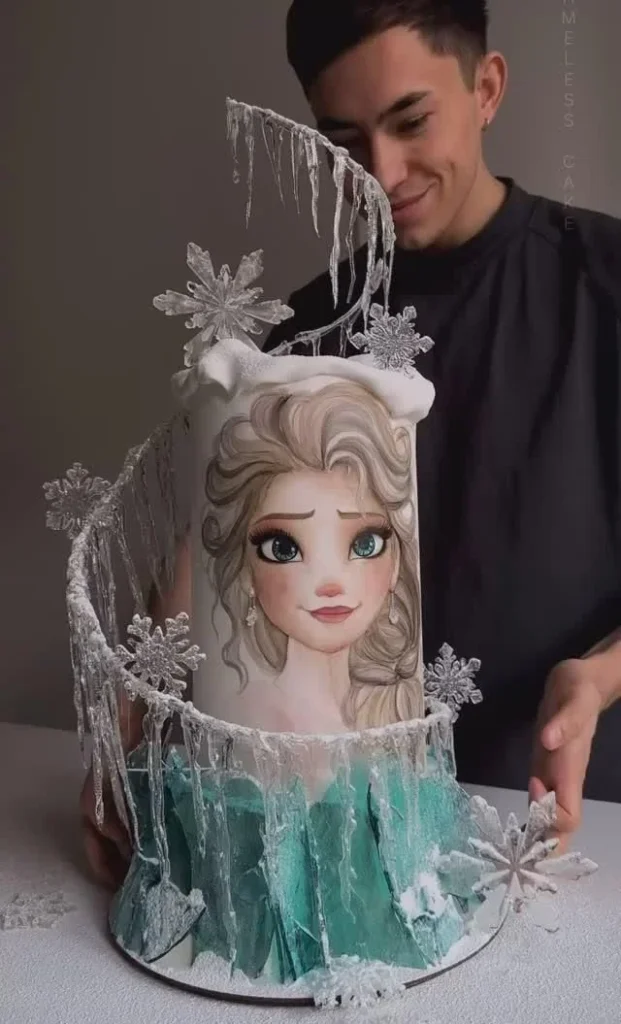
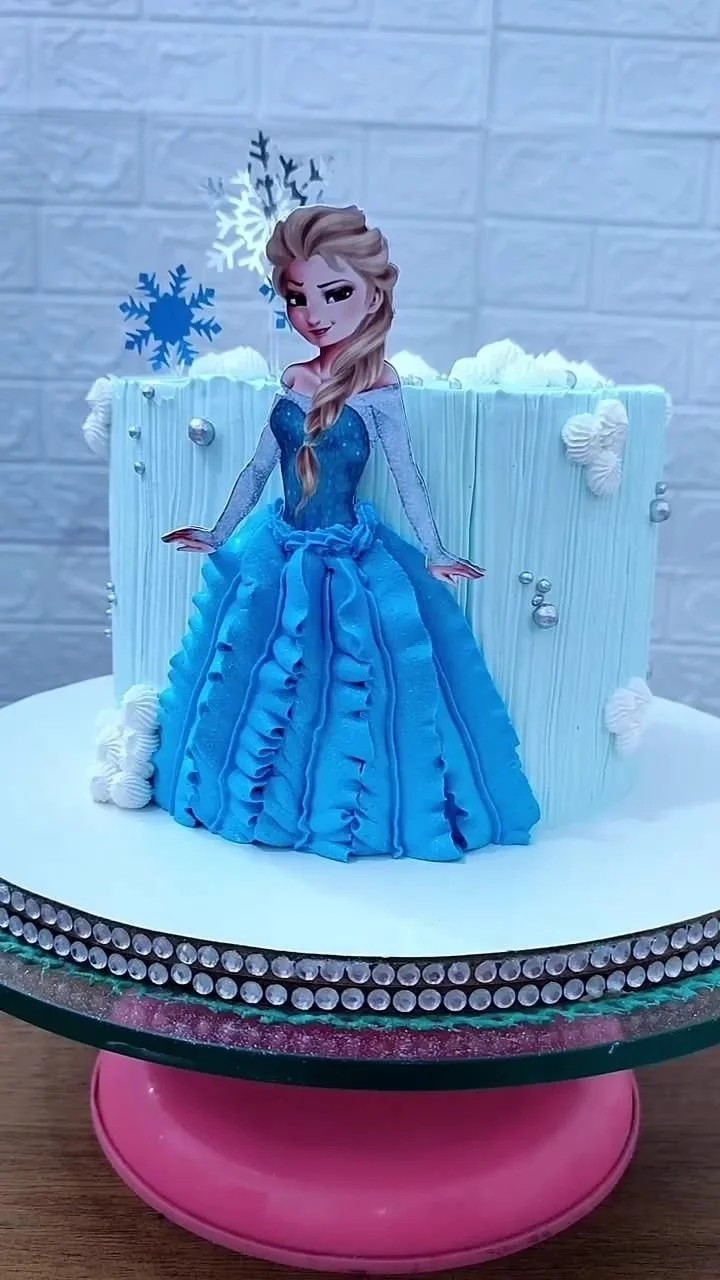
There’s something enchanting about slicing into a cake that looks and tastes like a storybook. Imagine a lightly golden crumb that gives way to a tender, moist interior; a sweet vanilla aroma that curls through the air and makes a roomful of guests pause and smile; soft buttercream waves shimmer with a hint of edible glitter and delicate pastel swirls. The first forkful is a gentle balance of sweet and buttery, the crumb yielding just enough to be comforting but not heavy. Texturally, this cake is plush and springy, while the frosting provides a creamy contrast that carries the colors and magic of a princess-themed celebration.
Whether you’re planning a birthday for a little one, crafting a themed dessert for a snowy holiday, or simply want a whimsical centerpiece for a weekend gathering, this Talk Frozen Princesses cake fits the bill. It’s joyful enough for celebrations, approachable enough for bakers of many skill levels, and quick enough to bake on a cozy afternoon when you want to make memories alongside the baking.
At a Glance
- Prep Time: 20 minutes
- Cook Time: 25–30 minutes
- Total Time: 45–50 minutes
- Servings: 12 slices (two 9-inch layers)
- Difficulty Level: Easy–Intermediate
Nutrition Highlights
Estimated nutrition per serving (1 of 12 slices, cake + buttercream):
- Calories: ~570 kcal
- Protein: ~4 g
- Total Carbohydrates: ~81 g (of which sugars ~60–70 g)
- Total Fat: ~25 g (saturated fat significant)
- Fiber: <1 g
- Sodium: moderate (depends on baking powder and salt used)
These values are estimates calculated from standard ingredient nutrient profiles (USDA FoodData Central and similar government nutrient databases). Exact values will vary by brands, specific measurements, and the amount of frosting/decorations used. If you need precision for dietary reasons, weigh ingredients and use a nutrition calculator tied to USDA data.
Why You’ll Love It
- Purely joyful aesthetics: The pastel hues and shimmering decorations turn an ordinary cake into an instant party focal point.
- Crowd-pleasing flavor: Classic vanilla, tender crumb, and rich buttercream appeal to kids and adults alike.
- Versatile and seasonal: Perfect for birthdays, winter or holiday parties (especially Frozen-themed gatherings), or anytime you want a whimsical dessert.
- Manageable effort: No advanced techniques required — divide, color, bake, stack, and decorate. Great for bakers who want an impressive result without a long learning curve.
How to Make Talk Frozen Princesses
Ingredients (yields two 9-inch round cakes; serves ~12)
- 2 cups (240 g) all-purpose flour
- 1 ½ cups (300 g) granulated sugar
- ½ cup (113 g) unsalted butter, softened
- 1 cup (240 ml) whole milk
- 3 ½ teaspoons baking powder
- 1 teaspoon vanilla extract
- ½ teaspoon salt
- 3 large eggs
- Food coloring (blue, pink, purple — gel colors recommended)
- Buttercream frosting (see optional quantities below)
- Decorations: princess figurines, edible glitter, sprinkles, candy pearls
Optional buttercream (estimate for generous coverage)
- 4 cups (approximately 480 g) powdered sugar
- 1 cup (227 g) unsalted butter, softened
- 2–4 tablespoons milk or cream
- 1 teaspoon vanilla extract
- Pinch of salt
Optional ingredients & substitutions
- For a lighter cake: use 2/3 cup (160 ml) low-fat milk + 1/3 cup (80 ml) plain Greek yogurt (adds tang and moisture).
- Dairy-free/vegan: replace butter with vegan margarine, use non-dairy milk, and swap eggs for flax eggs (3 tbsp ground flax + 9 tbsp water, chilled) — texture will differ.
- Gluten-free: substitute a 1:1 gluten-free flour blend designed for baking (may require xanthan gum).
- Lower sugar: reduce granulated sugar to 1 cup (not recommended if you want classic texture; expect a denser crumb).
Step-by-step method
- Preheat the oven to 350°F (175°C). Grease and flour two 9-inch round cake pans, and line the bottoms with parchment for easy removal.
- In a large mixing bowl, cream the butter and sugar together until light and fluffy (about 3–4 minutes with a hand mixer or stand mixer on medium). This aerates the batter for a tender crumb.
- Add the eggs one at a time, mixing well after each addition. Scrape the bowl as needed. Then add the milk and vanilla extract and mix until combined.
- In another bowl, whisk together the flour, baking powder, and salt. Gradually add the dry ingredients to the wet mixture in two additions, mixing just until combined. Overmixing develops gluten and creates a tougher cake—stop when no dry streaks remain.
- Divide the batter into separate bowls (as many colors as you want). Mix in food coloring a little at a time to reach your desired pastel tones (gel colors are more vivid and won’t thin the batter).
- Pour the colored batter into the prepared pans (you can layer colors for a swirled or striped effect) and bake for 25–30 minutes, or until a toothpick inserted in the center comes out clean or with a few moist crumbs. Rotate pans halfway through baking if your oven heats unevenly.
- Let the cakes cool in the pans for 10 minutes, then turn out onto cooling racks to cool completely. Cooling fully prevents the frosting from melting.
- Once cooled, level the cake layers if needed, spread a thin crumb coat of buttercream, chill briefly, then finish with a thicker layer of buttercream. Decorate with edible glitter, sprinkles, and princess figurines as desired.
- Serve and enjoy the magical creation!
Practical tips while you bake
- Avoid overmixing the batter once flour is added; fold just until incorporated.
- Use room-temperature eggs and butter for smoother blending.
- If you want bold colors, use gel or paste food coloring rather than liquid.
- Check doneness starting at 25 minutes — ovens vary. A clean toothpick or a gentle spring back when touched are good cues.
Best Pairings
- Beverage pairings: a lightly brewed Earl Grey or vanilla rooibos tea complements the vanilla profile; for kids, serve with cold milk or a mild hot chocolate.
- Dessert pairings: fresh berries and a dollop of whipped cream balance the sweetness. A scoop of vanilla bean ice cream pairs beautifully for an extra-treat dessert.
- Presentation ideas: place a few themed props (mini trees for a winter scene) around the base; serve on a cake stand to elevate the effect.
Storage Instructions
- Room temperature: If covered well (cake dome or airtight container) in a cool room, the frosted cake will keep for 1–2 days. In warm climates, prefer refrigeration to keep buttercream stable.
- Refrigeration: Store in an airtight container or covered cake carrier for 4–5 days. Let the cake sit at room temperature 20–30 minutes before serving to soften the buttercream for best texture.
- Freezer: Freeze individual slices wrapped tightly in plastic and then foil for up to 2 months. Thaw overnight in the refrigerator, then bring to room temperature before serving.
Expert Tips
- For the lightest crumb: cream butter and sugar until pale and airy — this traps air and yields lift.
- Best flour choice: standard all-purpose flour works well; if you prefer a more tender crumb, try substituting up to 25% cake flour.
- Frosting smoothness: use an offset spatula and a bench scraper, and chill briefly between crumb coat and final coat for neater layers.
- Even layers: wrap cooled cake layers in plastic and freeze for 20–30 minutes before leveling — firmer layers are easier to trim.
Creative Twists
- Chocolate-vanilla swirl: replace ½ cup flour with ½ cup cocoa powder for one color of batter to create chocolate-vanilla layers.
- Lemon princess: add 1–2 tablespoons lemon zest and 2 tablespoons lemon juice to the batter for a bright citrus note; pair with lemon buttercream.
- Vegan version: use a vegan butter, full-fat coconut milk, and flax eggs (3 tbsp ground flax + 9 tbsp water). Use a vegan buttercream recipe to finish.
- Mini layer cakes: bake in smaller pans (6-inch) to create multiple tiered mini princess cakes for a more intricate display.
Frequently Asked Questions
Q: Can I make this cake ahead of time?
A: Yes — bake the layers 1–2 days in advance, wrap tightly, and store at room temperature or refrigerated. Frost the day you plan to serve for the freshest look.
Q: How can I reduce sweetness without ruining texture?
A: Slightly reduce the sugar (e.g., to 1¼ cups) but avoid large cuts; sugar contributes to structure and moisture. Consider increasing a little vanilla or citrus zest to enhance perceived flavor.
Q: My cake came out dry—what went wrong?
A: Possible causes: overbaking, overmixing the batter, or too much flour (check your measuring). For next time, bake toward the lower end of the time range and measure flour by spooning into the cup and leveling.
Q: Can I use food coloring in the buttercream too?
A: Yes — color the buttercream in small batches with gel food coloring for bright, stable hues.
Q: Are the decorations safe to put straight on the cake?
A: Ensure figurines are food-safe and clean. For non-edible items, place them on small cake discs or wrap the base in parchment to avoid direct contact.
Conclusion
This Talk Frozen Princesses cake is a delightful blend of nostalgic flavor and whimsical presentation—perfect for making memories at birthdays, themed parties, or festive gatherings. If you’re short on time or want professionally made princess cakes for inspiration (or to order), check out local options like princess-themed cake options at ChefPanda. If you need specific toppers to complete your snowy, royal look, browse Frozen cake topper kits on Mercado Livre to find figurines and decorations that match the theme.
I’d love to see your creations — share photos, questions, and variations in the comments so we can build a cheerful baking community around this magical recipe. Happy baking!
Print
Talk Frozen Princesses Cake
- Total Time: 50 minutes
- Yield: 12 slices 1x
- Diet: Vegetarian
Description
A whimsical cake featuring a tender vanilla crumb and adorned with colorful buttercream swirls and sparkling decorations, perfect for any princess-themed celebration.
Ingredients
- 2 cups (240 g) all-purpose flour
- 1 ½ cups (300 g) granulated sugar
- ½ cup (113 g) unsalted butter, softened
- 1 cup (240 ml) whole milk
- 3 ½ teaspoons baking powder
- 1 teaspoon vanilla extract
- ½ teaspoon salt
- 3 large eggs
- Food coloring (blue, pink, purple — gel colors recommended)
- Buttercream frosting (see optional quantities below)
- Decorations: princess figurines, edible glitter, sprinkles, candy pearls
Instructions
- Preheat oven to 350°F (175°C). Grease and flour two 9-inch round cake pans.
- Cream butter and sugar until light and fluffy (about 3–4 minutes).
- Add eggs one at a time, mixing well after each addition. Then mix in milk and vanilla.
- In another bowl, whisk together flour, baking powder, and salt; gradually add to wet mixture, mixing until just combined.
- Divide batter into bowls and mix in food coloring.
- Pour colored batter into prepared pans and bake for 25–30 minutes until a toothpick comes out clean.
- Let cool for 10 minutes, then turn out onto cooling racks.
- Once cooled, level cake layers, apply a crumb coat of buttercream, then frost with a thicker layer and decorate as desired.
- Serve and enjoy!
Notes
For a lighter cake, consider using low-fat milk with Greek yogurt. For vegan options, replace butter and eggs with alternatives.
- Prep Time: 20 minutes
- Cook Time: 30 minutes
- Category: Dessert
- Method: Baking
- Cuisine: American
Nutrition
- Serving Size: 1 slice
- Calories: 570
- Sugar: 60g
- Sodium: 200mg
- Fat: 25g
- Saturated Fat: 15g
- Unsaturated Fat: 10g
- Trans Fat: 0g
- Carbohydrates: 81g
- Fiber: <1g
- Protein: 4g
- Cholesterol: 30mg
Printable Recipe Card
Want just the essential recipe details without scrolling through the article? Get our printable recipe card with just the ingredients and instructions.